Published
- 5 min read
End of Season: How to Winterize and Store Your Oriole Feeders
End of Season: How to Winterize and Store Your Oriole Feeders
The crisp autumn air has arrived, the leaves are turning, and it has been over three weeks since you saw the last flash of an orange feather in your yard. The Orioles have officially completed their fall migration, heading south toward Central America for the winter.
For the backyard birder, the season is over. But your work is not quite done.
One of the most common mistakes beginners make is leaving their empty, sticky Oriole feeders hanging in the yard all winter long. Freezing temperatures cause residual moisture inside plastic nectar reservoirs to expand, creating microscopic cracks that will leak next spring. Furthermore, old grape jelly left in glass cups will turn into a cement-like, moldy crust that is nearly impossible to remove in April.
To protect your investment and ensure your gear is pristine for the next migration, you must properly winterize your feeding station. In this guide, I will walk you through the professional “End of Season” teardown, deep clean, and storage routine.
1. The Takedown Timing: When is it safe?
The golden rule of fall feeding: Never take your feeders down too early. It is a persistent myth that leaving food out will prevent birds from migrating. Migration is triggered by daylight hours and barometric pressure, not your jelly cup.
- The Rule: Keep your feeders clean and filled for two full weeks after you see your last Oriole. You never know when a late straggler from further north will pass through your yard, desperately needing the calories to survive the final leg of their journey.
- The Takedown: Once two weeks of zero activity have passed (usually in late September or October, depending on your region), it is time to bring everything inside.
2. The “End of Season” Deep Clean
A mid-summer rinse is not enough for winter storage. You must sterilize the equipment to prevent mold spores from sitting dormant on the plastic for six months.
Step 1: The Hot Soak
Disassemble every part of your feeder. Remove the bee guards, unscrew the base, and pop out the jelly cups.
- Fill a large sink or basin with extremely hot water and a generous amount of mild dish soap.
- Let the parts soak for 30 minutes to soften hardened sugar and jelly.
Step 2: The Vinegar Scrub
Do not use bleach. Bleach can degrade plastics over a long storage period.
- Create a solution of 1 part white vinegar to 2 parts water.
- Using your specialized micro-port brushes, aggressively scrub every threaded joint, feeding port, and crevice. The vinegar will kill any remaining bacteria or black mold spores.
- Affiliate Pick: Ergonomic Feeder Cleaning Brush Set
Step 3: The Bone-Dry Rule
This is the most critical step. If you place a damp plastic feeder inside a dark storage bin for six months, you will open it in the spring to find a furry ball of mildew.
- Rinse all parts in cold water.
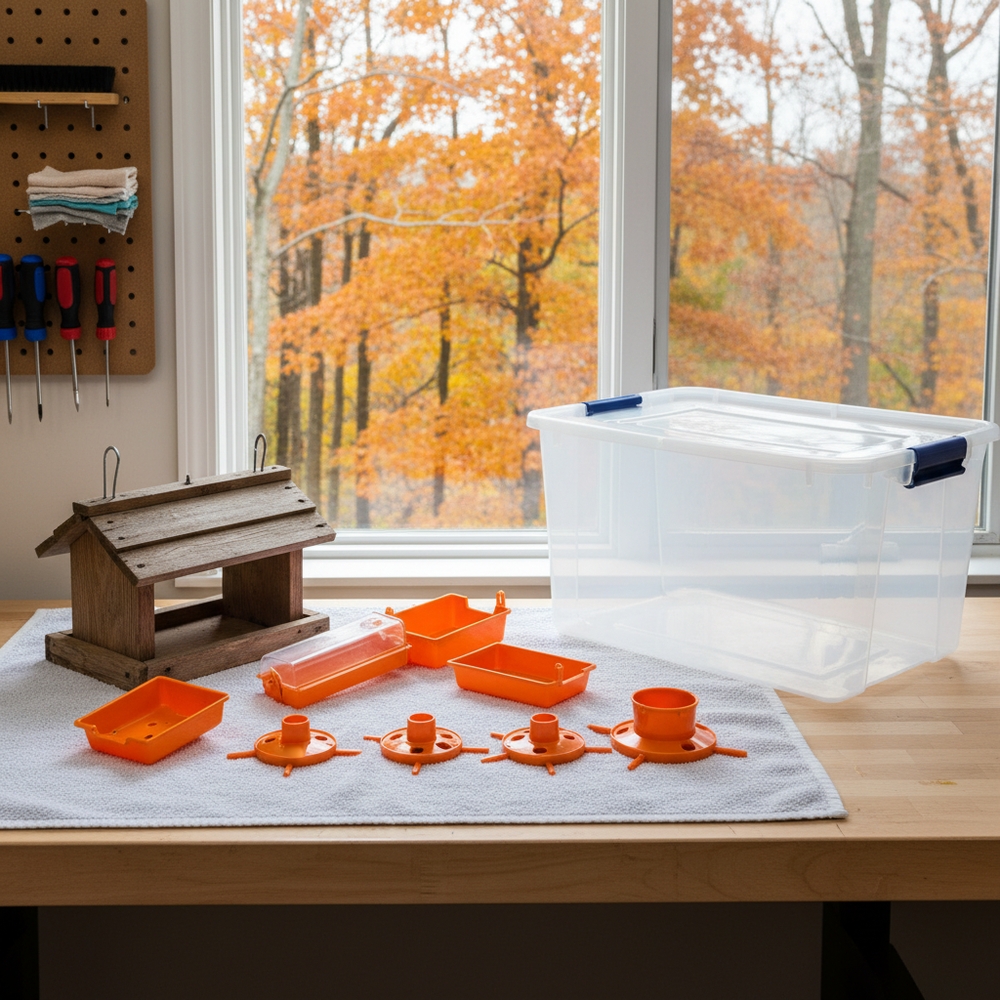
- Place them on a towel in a sunny, dry spot indoors for at least 48 hours. Ensure there is zero condensation left inside the nectar bottle.
3. Treating Cedar and Wood Feeders
If you have a high-quality wooden feeder, water and soap will warp and rot the wood.
- Scrape: Use a stiff wire brush or a putty knife to scrape away dried jelly, bird droppings, and old suet from the wood.
- Sand (Optional): If the wood has dark stains, a quick sanding with fine-grit sandpaper will restore the fresh cedar look.
- Oil: To protect the wood from drying out in winter storage, rub a very light coat of food-grade mineral oil or raw linseed oil into the cedar. Do not use chemical wood stains, as they are toxic to birds.
- Affiliate Pick: Kettle Moraine Fruit & Jelly Cedar Feeder (If yours didn’t survive the summer, fall is a great time to buy a replacement while prices are lower).
4. Proper Storage
Do not throw your feeders into a cardboard box in a damp shed or uninsulated garage. Extreme freezing temperatures will make the plastic brittle.
- The Bin: Store your perfectly dry, disassembled feeders inside a heavy-duty, airtight plastic storage tote. This prevents mice and spiders from using your nectar ports as a winter home.
- The Location: Store the bin in a climate-controlled area, such as a basement or an interior closet.
Conclusion
The end of the Oriole season is bittersweet, but performing a professional winterization routine is an act of care for your future flock. By sterilizing your feeders, conditioning your wooden frames, and storing your gear in a dry, climate-controlled environment, you guarantee that when the first scouts arrive next May, you will be 100% ready to welcome them back.